
Back home I used to make my resources on my MacBook with PowerPoint. Unfortunately I could not bring my MacBook with me because it's too heavy to lug around, I didn't really have the space and I felt it was just too expensive to risk being damaged/lost/stolen.
Once we settled in our apartment in Manchester, we bought a budget laptop; an ASUS with Windows 8. Going back to Windows after using a Mac was frustrating and then of course there was the issue of missing all my programs and clipart!
To make do I installed Open Office, which is basically like a FREE version of Microsoft Office 95. Though that pesky paper clip does not make an appearance ;)
Making resources in Impress, their version of PowerPoint was tricky because of the lag. I'm not quite sure whether it was the software itself or because I was back on a lagtastic PC. It was not working out at all, after having 5 layers the program would become unresponsive every time I tried to move something. Annoying!
I did a bit of research and found Pixlr! I was already familiar with their photo editing apps, but was not aware they had a desktop editing program.

The best part? it's hosted on the Internet so you don't need to install anything! Though I guess if you're somewhere without a connection that would be a downside. However the less installations on a PC, the better!
After you've clicked on Editor you are given these options;

To design an A4 resource, click on Create New Image and use these dimensions; 1133 by 800 pixels.
Here is what the screen looks like;
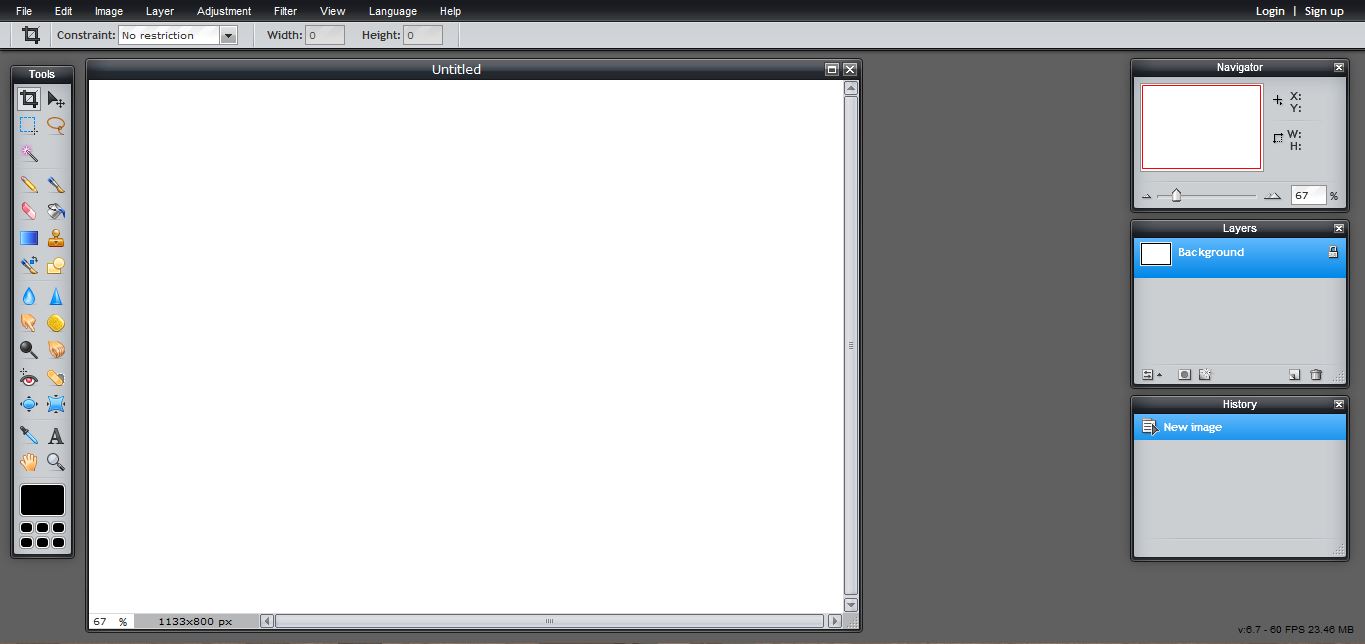
It looks pretty much the same as Photoshop 7 and most of the tools from Photoshop are there.On the left are the tools and on the right is the layers, history and navigator windows.
One of the best features? The ability to import images a layers and even images from a URL.

Another great feature for design is the Layout Styles menu.

Here you can add drop shadows and outlines around images and text (use outer glow and set the hardness to 10).
You can also flip, rotate and free transform the layers too.
The fonts available are the ones already installed on your computer. None of this 'can only use the limited fonts we provide' nonsense.
The only downside I can find with this, is that it doesn't handle handwriting fonts very well. They come out slightly blurry/pixelated. To overcome this, I simply paste the image in PowerPoint and add the text in there.
Discovering Pixlr was a relief for me as without it, it would have taken me much longer to make resources. If you're looking for a free alternative to Photoshop, this is definitely the tool for you! While you're at it, check out their photo editing apps too.
But wait how do I put my resource together? Simply copy and paste the image into a PowerPoint. This also secures your document and prevents people from lifting the graphics and clipart from your .PDF
Of course Pixlr is not only useful for making resources. It could be a useful tool in your classroom. You could get students to design posters and even do photo manipulations (using the wand tool). The possibilities are endless!
If you have any questions about using Pixlr, leave a comment below and I'll be happy to help you :)
No comments:
Post a Comment